Exhibit 7 - Retouching
Before
|

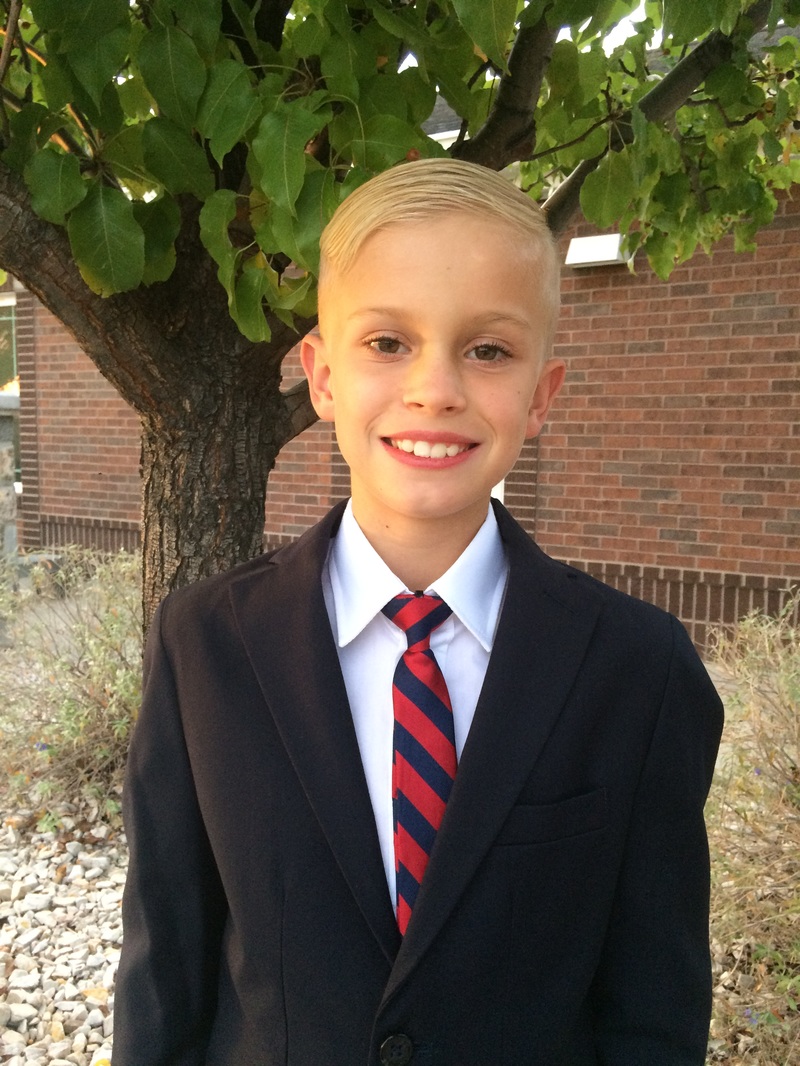
After
|
Design Thoughts:
This is a picture of my son who just turned eight. I really wanted to get some pictures of him in his new suit before his baptism, but he was sick for several days leading up to it. So in the pictures, he looks a little pale, and has some dark circles around his eyes that I wanted to get rid of.
This is a picture of my son who just turned eight. I really wanted to get some pictures of him in his new suit before his baptism, but he was sick for several days leading up to it. So in the pictures, he looks a little pale, and has some dark circles around his eyes that I wanted to get rid of.
- Contrast: The new picture provides more contrast with light and dark colors.
- Alignment: His face is now centered in the photo.
- Color: The colors are brighter and more vibrant in the new picture.
- Using the Basic Camera Raw settings, I increased the Contrast, Shadows, and Clarity and decreased the Highlights, Whites, and Blacks. I also decreased everything slightly using Tone Curve; I also increased the hue and luminance of the greens to brighten the green leaves, and changed the red to make the lips less pale and the bricks a little brighter.
- In Photoshop, I used the Spot Healing Tool to get rid of a few freckles, spots and embellishes, and used the Brush Healing Tool to lighten up some of the dark shadows around his eyes.
- I used the Content-Aware Patch Tool to take out some of the shoulder area of the suit that was hanging out, and also to take out the silver vent on the bricks just to the right of his head.
- I cropped the left side of the photo slightly to get rid of the window and center his face.
- I also brightened the whiteness of the teeth.
